0:00 Welcome
Welcome to a new Avonni video tutorial! If you're new to Avonni Flow Screen Components, this is the place to start. We'll follow the quickstart guide from our documentation, step by step, and build a real screen flow from scratch.
0:15 What we'll build
Let's go! Here's what we'll build. A Deal Review flow, right on the account page. Your sales reps see the account's open opportunities in a table, with the stage as a badge and the probability as a progress bar. They tick the deals they want to move forward, pick the next step on a card, and Salesforce updates those deals for them. Along the way, you'll learn the four ideas you'll reuse in every Avonni flow: adding a component and opening the Component Builder, feeding it a record collection, turning raw values into visuals, and using what the user selects in the rest of the flow.
0:48 Flow or Dynamic Components?
Quick question before we build: is a flow the right tool? Avonni gives you two builders. Flow Screen Components live in Flow Builder, for a process: a wizard, an intake form, an approval, steps with a Next button. Dynamic Components live in Lightning App Builder, for a page: a dashboard, a record view, data that's always there. A simple rule: if nobody moves through steps, you're building a page, not a process. Our Deal Review has two screens and a Next button, so it's a flow. And the two work together: a Dynamic Components page can open this flow in a dialog or a side panel.
1:25 Standard or Avonni?
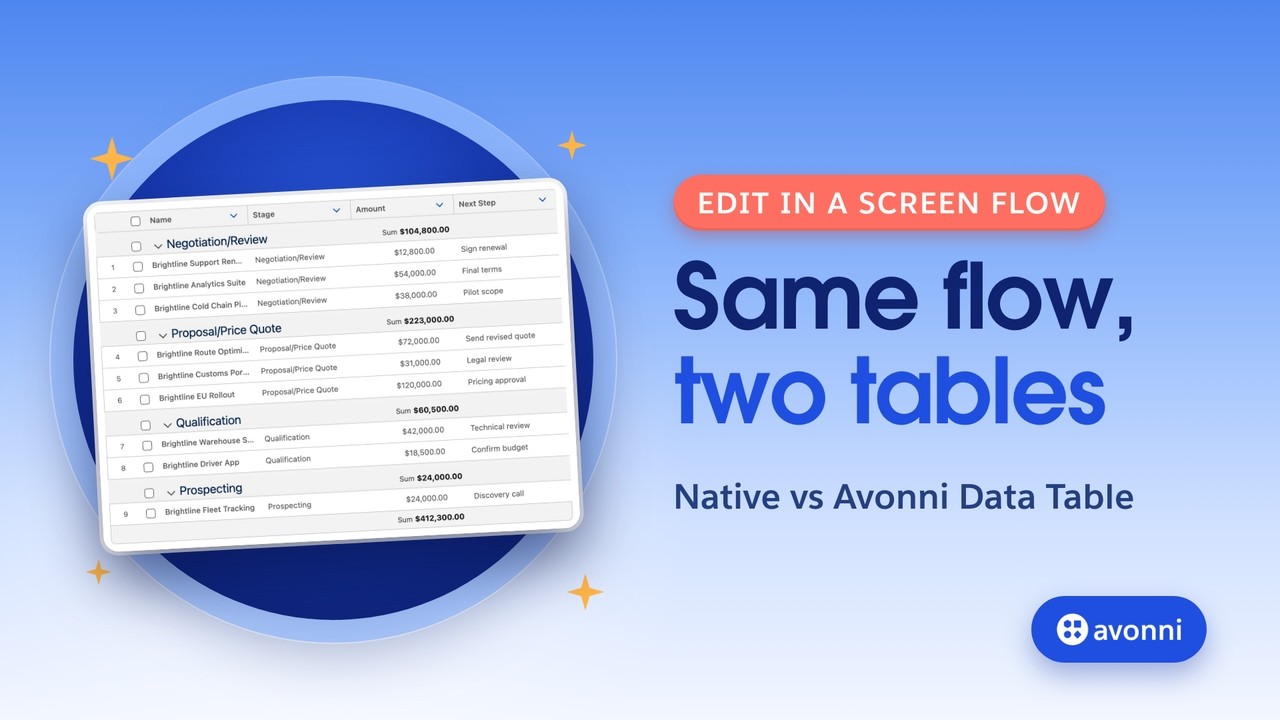
Salesforce already ships a Data Table and a Visual Picker for screen flows. They're solid: search, row selection, tiles with icons. Avonni adds what they don't have: columns that show a badge, a progress bar or a link to the record, a counter of selected rows, and cards with a title, a description and an icon. And you set it all up in one visual editor, the Component Builder.
1:51 What you need
Before we start, you need three things. The Avonni Flow Components package, from the AppExchange. The Avonni Flow Screen Components permission set, so you can open the Component Builder. And an account with a few open opportunities, so you have something to review.
2:07 The open deals
In Setup, open Flows, click New Flow, and pick Screen Flow. First, a variable called recordId, of type Text, available for input. When the flow runs on a record page, Salesforce fills it with the Id of that record. Everything else in the flow depends on it. Next, a Get Records element, called Get Open Deals. It gets Opportunity records where Account ID equals recordId, and Closed equals False, sorted by Amount, biggest first, all records. We pick the six fields we need: Name, Stage, Probability, Amount, Close Date and Next Step. This is standard Flow. Avonni components simply use the record collections you already have.
2:51 The Avonni collection
Now, a Screen element, called Review Deals. In the components, search for Avonni. Here's the whole collection: seventy-five components, right next to the standard ones. Tables, maps, calendars, kanbans, scanners, and more. Click the Avonni Data Table to add it to the screen, name it DealsTable, and click Open Component Builder.
3:15 Connect your data
This is the Component Builder. Fields on the left, a live preview in the middle, and properties on the right. First, the data. At the bottom of the properties, under Data Source, choose Variable. A Fields tab opens on the left: set the Data Collection to Get Open Deals. Then click the fields to add them as columns: Name, Stage, Probability, Amount and Close Date. Click the pencil on a header to rename it: Name becomes Deal, and Probability loses its percent sign. On the right, in the Header section, add a title, "Deals to review", and a caption, "Open opportunities on this account". In the Avatar section, pick the opportunity icon. The preview shows the layout only. Your real data appears when the flow runs.
4:02 Make the columns visual
Now the part the standard table can't do. Click the chevron on the Stage column, open Type Attributes, and choose Badge. On Probability, choose Progress Bar. A percent becomes a bar your reps read at a glance. For the deal name, we want a link to the opportunity. Keep the Text type and turn on Linkify: each name opens its opportunity. From the same menu, Allow Search adds a search box above the table. Last one: turn on Show Number of Items Selected. Your reps will see how many deals they picked. Click Done to close the Component Builder.
4:37 Cards for the next step
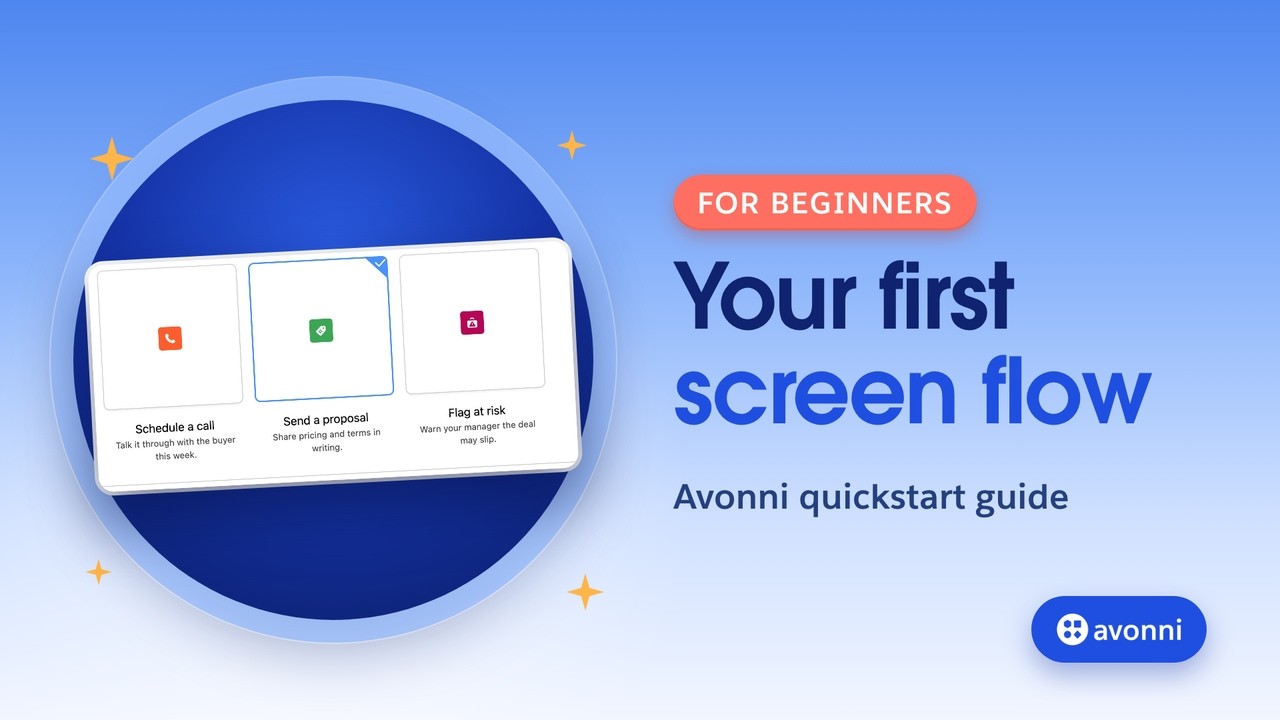
Add a second screen, called Next Step. This time, add the Avonni Visual Picker, name it NextStepPicker, and open the Component Builder. Keep the type on Radio, so the rep picks exactly one option. Set the label: "What happens next on the selected deals?" Then add three items: Schedule a call, Send a proposal, and Flag at risk. Each card gets a title, a short description, a value, and an icon. The value is what the flow receives, so we write it the way we want it in Salesforce. Cards beat a dropdown here: every option is visible, with its explanation, before the rep clicks.
5:17 Update the selected deals
Now the logic. Add a Loop over the rows the rep selected. In the resource picker, open Review Deals, then DealsTable, and pick Selected Rows. Every Avonni component exposes its outputs like this, ready for the rest of your flow. Inside the loop, an Assignment. Set the Next Step field of the current deal to the Value of the picker. Then add the deal to a new collection, called DealsToUpdate. After the loop, one Update Records element on DealsToUpdate. One update for all the deals, not one per row.
5:52 Put it on the page
Save the flow as Deal Review, and activate it. Open any account, click the gear, and Edit Page. Drag the standard Flow component onto the page and pick Deal Review. Then the most important checkbox: Pass record ID into this variable, next to recordId. Without it, the table stays empty. Save the page.
6:14 Test it
Let's try it. Here are the account's open deals, with their badges and progress bars. Tick two deals. The table shows "2 items selected". Click Next. Pick Send a proposal, and click Next. And here's the result: the two deals we selected now have "Send a proposal" as their next step. The others haven't changed.
6:36 Recap
Let's recap. A Get Records feeds the table, with any record collection you already have. Column types turn raw values into badges, progress bars and links. Component outputs, like Selected Rows and Value, drive your loops, decisions and updates. And the same pattern works for every Avonni component, from the kanban to the map and the calendar. The quickstart guide is in the description below. Thanks for watching!