0:00 Capture a signature in a Salesforce screen flow
Welcome to a new Avonni video tutorial! Today, you'll learn how to capture a customer signature in a Salesforce screen flow, and close the deal in the same click. No code, start to finish. Let's go!
0:13 Why Salesforce Flow has no signature component
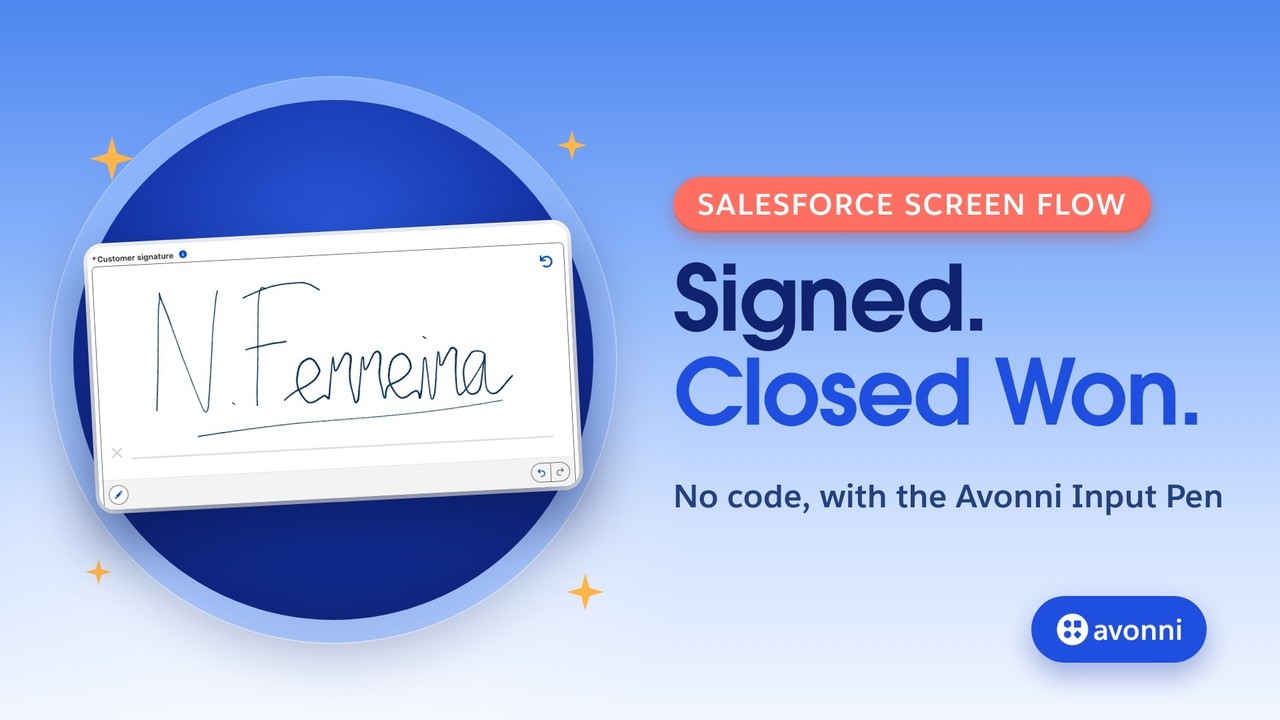
Your rep is at the customer's place. The customer says yes. Usually, that means a PDF to send, a signature that takes days, and an opportunity that stays open. Salesforce Flow ships about forty standard screen components, but none of them captures a signature. That's where the Avonni Input Pen comes in. It adds a signature pad to any flow screen, saves the signature as a Salesforce file, and attaches it to the record for you. One honest note: this is proof of acceptance on the spot. For a legally binding contract between several parties, an e-signature tool is still the right choice.
0:52 Use case: close an opportunity with a signature
To learn it, let's take a real use case. SolarOps sells rooftop solar systems. Here's the Ferreira Residence opportunity: 24,800 dollars, at the Proposal stage. The rep taps Get Signature. The customer reviews the summary, picks her name and signs with her finger. Finish. And boom: the deal is Closed Won, Signed By and Signed On are filled in, and the signature is in Files, right on the opportunity.
1:20 The screen flow plan in Flow Builder
Here's the flow we'll build. A recordId variable, so the flow knows which opportunity it runs on. Get Records, to read that opportunity. A Decision, so nobody signs twice. A Review screen with the summary and the signer. A Sign screen with the Input Pen. Then Update Records, to close the deal, with a fault path in case the save fails.
1:45 Prerequisites
Before we start, you need three things. The Avonni Flow Components package, with its permission set assigned. Two custom fields on Opportunity: Signed By, a lookup to Contact, and Signed On, a date and time. And an account with its contacts, so the customer can pick her name.
2:06 recordId variable (the number one trap)
In Flow Builder, create a new screen flow. First, a variable. Name it recordId, exactly like this: lowercase r, capital I. Data type Text, and check Available for input. This is trap number one. The quick action sends the record ID only to a variable with exactly this name. Get one letter wrong, and the flow runs on nothing.
2:30 Get Records: read the opportunity
Next, a Get Records element. Object: Opportunity. Condition: Id equals recordId. Keep only the first record. Now the flow knows the name, the amount, the close date and the account.
2:46 Decision: stop a double signature
Then a Decision. If the stage is already Closed Won, we show a short screen that says so, and the flow ends. Without it, a second tap would sign the same deal twice.
2:57 Review screen with a Record Choice Set
On the other path, the Review screen. A Display Text with the opportunity name, the amount and the close date, pulled straight from Get Records. Below it, who is signing. We create a Record Choice Set on Contact, filtered on the opportunity's account. The label is the contact's name, the value is the contact ID. We show it as radio buttons. So the customer only sees the people on her own account.
3:26 Formula for the signature file name
One more resource before the signature screen: a formula for the file name. Signed proposal, then the opportunity name, then today's date. Every signature gets a clear name in Files.
3:37 Sign screen: add the Avonni Input Pen
Now the Sign screen. A checkbox first: I agree to the proposal terms, required. Then drag the Avonni Input Pen onto the screen, and open the Component Builder. This is where you configure the component, with a live preview.
3:54 Configure the signature pad in the Component Builder
The label: Customer signature, with a short help text. Mode: Ink, for a smooth pen stroke. Toolbar at the bottom. The color: a dark blue, like a real pen. And Show Signature Pad, which adds the line to sign on. Required is on, with our own message: Please sign before you finish. In the advanced options, we hide the buttons a customer doesn't need: paintbrush, ink, eraser, size, color, background and download. What's left is the pen, undo, redo and clear. Size: three pixels. Now the part that turns a drawing into a record. Turn on Save as Content Document, and Auto Save. Content Document Title: our formula. And Content Document Linked Entity Id: recordId. That's trap number two. Without the linked entity, the file is saved, but attached to nothing. With it, it lands in the opportunity's Files. And with Auto Save on, the file is saved while the customer signs. There's no Save button to forget.
5:02 Update Records: set the opportunity to Closed Won
After the Sign screen, an Update Records element on the same opportunity. Stage: Closed Won. Signed By: the contact she picked. Signed On: the current date and time, from the global variable Flow Current Date Time.
5:19 Fault path: a clear error message
And a fault path on that update. If the save fails, say a validation rule blocks it, the rep sees a clear screen with the error message, instead of a generic crash. Save the flow and activate it.
5:33 Quick action for the record page and mobile app
Now let's put it where the rep works. In Object Manager, on Opportunity, create a new action. Action type: Flow. Pick our flow, and name it Get Signature. Then open the page layout, and drag Get Signature into the Salesforce Mobile and Lightning Experience Actions section. One step, and the button shows up on the record page and in the Salesforce mobile app.
6:00 Test: sign and close the deal
Let's test it. On the Ferreira Residence opportunity, tap Get Signature. The summary is right. The customer picks her name, Nadia Ferreira. Next. She checks the box and taps Finish without signing. The flow stops her: Please sign before you finish. So she signs. And the signature is already saved as a file. Finish. The opportunity is now Closed Won. Signed By shows Nadia Ferreira, Signed On shows the time she signed. And in Files, the signed proposal, with its preview. It works!
6:38 4 pro tips for screen flows
Four pro tips you can reuse in any flow, with or without Avonni. The recordId variable is case sensitive, so type it exactly. Add a fault path to every record update. Use a Decision to stop the same action from running twice. And test on the Salesforce mobile app, because that's where your reps will use it.
6:58 Recap
To recap. Salesforce Flow has no signature component, and the Avonni Input Pen adds one. We read the opportunity, reviewed it, picked the signer, captured the signature and closed the deal, all in one screen flow. In the Component Builder, the linked entity attaches the file to the record, and Auto Save stores it without a button. Want to build it with AI instead? The Agent Skills setup video is linked in the description. Thanks for watching, and see you in the next Avonni tutorial!