0:00 Welcome
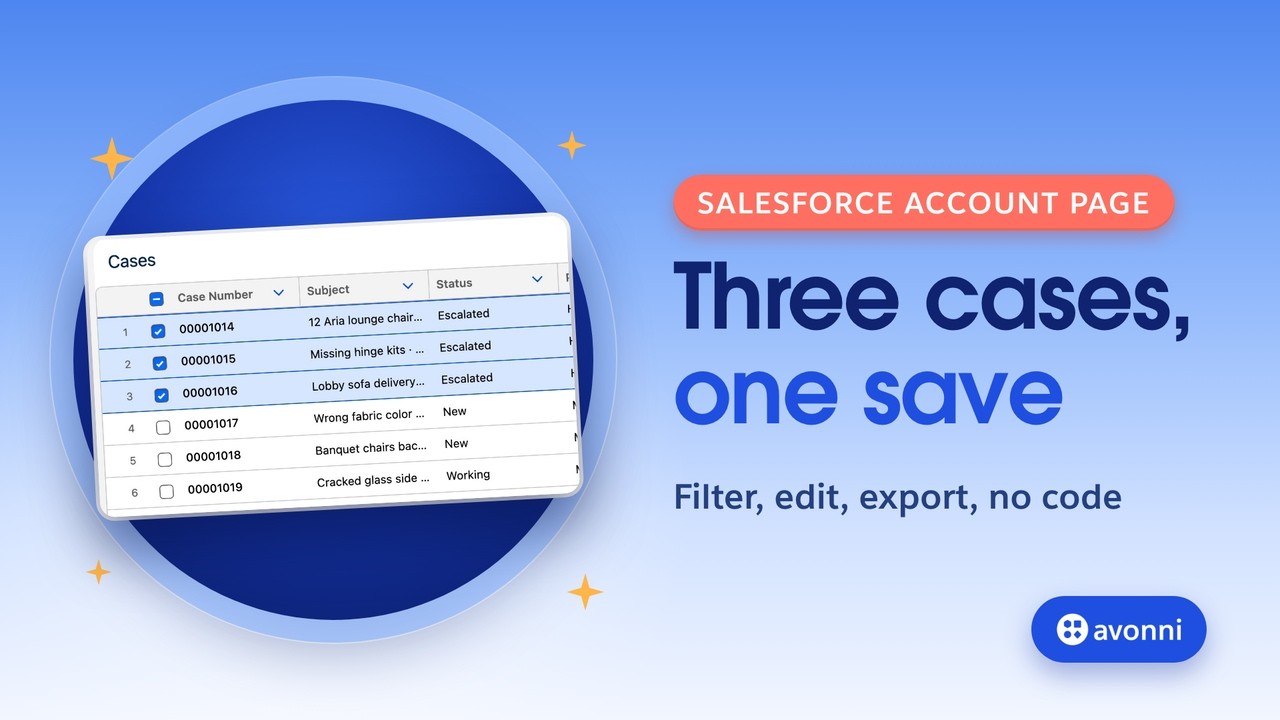
Welcome to a new Avonni video tutorial! Today: five Data Table tricks for a Salesforce record page, each one a setting or two in the Component Builder. It's for admins who want their users to work a customer's cases from the account page, without opening ten tabs. We'll learn them on one job: getting ready for a customer call in five minutes. Here's the result: the account's cases, filtered in two clicks, read right next to the table, and three of them escalated at once. Let's go!
0:30 The need
Meet Diego. He's an account manager at Northwind Distribution, which sells furniture to hotels. In five minutes, he has his quarterly call with Lakeshore Hotel Group. The account has fourteen cases: lounge chairs damaged in transit, missing hinge kits, late deliveries. With the related list, Diego opens each case, one tab after another, and loses track. So we'll give him a table right on the account page. Why a Dynamic Component and not a screen flow? There are no steps and no process here: Diego reads and acts on records, on the page he already has open.
1:06 Standard or Avonni?
Let's be fair, Salesforce does a lot here, and we'll set it up properly in a minute. A Dynamic Related List shows the columns you pick, filtered the way you decide as the admin. Its selection can run a mass quick action. And list views add user filters, inline editing and a split view, but in the Cases tab. On the account page itself, though, your users can't filter the list, can't edit a cell, and can't export it. Inline editing in related lists is a Salesforce idea with more than ninety thousand points, and in September it was taken off the roadmap. The Avonni Data Table brings all of that onto the account page. One honest note: for a simple, read-only list, the related list is still the right choice.
1:50 The five tricks
Here's the plan, one trick at a time. One: click a row, and read the case right next to the table. Two: filters in a side panel that only show the values you actually have. Three: edit in place, one cell or a whole selection. Four: a row action that logs a call. And five: export exactly what you see.
2:13 What you need
You need three things. The Avonni Experience Components package, which includes Dynamic Components and the Component Builder. Two permission sets: Avonni Experiences Admin for you, to build, and Avonni Dynamic Components User for the people who use the page, along with their license. And accounts with cases, using the case types your business really has. You'll see why in trick two.
2:37 The Avonni collection
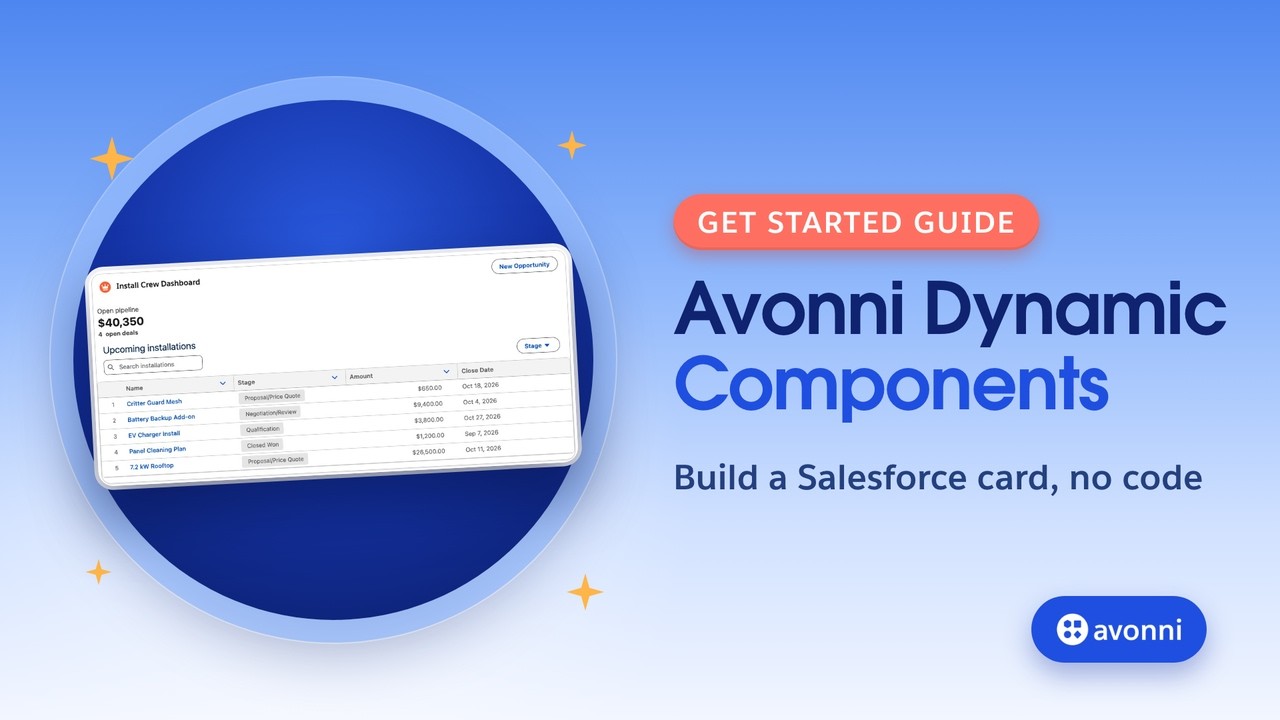
In Lightning App Builder, search for AX dash: these are the Avonni components, more than fifteen of them, ready to drop on a page. One of them, AX - Dynamic Component, places a component you build yourself in the Component Builder, from more than seventy-five elements. That's what we need today: a table that drives another component and runs actions. You install the package from the AppExchange, with ten free production licenses. The link is in the description.
3:06 The related list, done right
First, the standard, set up well. Drop a Dynamic Related List - Single in the Related tab and pick Cases. Choose the columns Diego needs: case number, subject, priority, status. Add a filter, Closed equals false, so only open cases show. And here's a good trick: create a quick action on Case, of type Update a Record, called Escalate, and add it to the list's actions. Now Diego checks three cases and escalates them at once. One trap: in that dialog, change the value yourself. If you leave the default, Salesforce says success and saves nothing. So what's missing? Diego can't filter this list himself, can't edit a cell, and to read a case, he leaves the page.
3:52 Build the component
Now the Avonni way. Open the Dynamic Components tab, click New Component, and start from a blank component. Drag in a Columns container with two columns: the table on the left, the case details on the right. Then drag the Data Table into the first column.
4:10 The query and the Target Page Object
First, save the component, and set its Target Page Object to Account. It tells the component it's made for account pages, and it loads the account's fields in the builder. Now the data. Create a query on Case, with one condition: Account ID equals the record ID of the page. Switch the value to Mapped, open $Component, and pick RecordId. Then add the columns: case number, subject, status, priority and case type. Don't panic: the builder shows the cases of every account, because there's no record page here. On the account page, the query keeps only that account's cases.
4:48 Trick 1: click a row, read the case on the side
Trick one. In Content, turn on Clickable Row. Now drag a Record Detail into the second column. Set its object to Case, and map its Record ID to the table: Clicked Row sObject, then Id. Then choose a Custom layout with what Diego reads: subject, description and contact. Every click on a row now shows that case right next to the table. Before the first click, though, the Record Detail would show an empty form. So give it a visibility rule: show it only when the clicked row's Id is not empty. And good to know: clicking a row also checks it. Reading three cases means selecting them.
5:27 Trick 2: filters with only the values you have
Trick two: filters. In Data Mappings, add three filter fields: status, priority and case type. Show them in a side panel on the right, and name the reset button Clear filters. Then turn on Use Record Picklist Values. Our Case Type picklist has seven values, but Lakeshore only has four kinds of cases. With this setting, the filter shows only those four, each with a count. No more clicking a value that returns nothing.
5:56 Trick 3: edit in place, one cell or a whole selection
Trick three: editing. Make the status and priority columns editable. Now look at the Interactions tab: the builder added a Save interaction, Update Record(s), on its own. That's what writes the changes to Salesforce. For several cases at once, add a header action, Edit selected. Its Header Action Click runs Edit Selected Records. Diego checks rows, clicks Edit selected, ticks the fields to change, and saves. There's no quick action to build: the dialog offers the table's own columns. And you don't need a Refresh Query, the table reloads by itself.
6:32 Trick 4: a row action that logs a call
Trick four: Diego wants to log his call on a case, right from its row. Add an Action column with one row action, Log a Call. Its Row Action Click opens a Quick Action. Log a Call is a global action, so choose Custom and type Global.LogACall. Then map the record ID to the clicked row. The call is logged on that case, not on the account.
6:56 Trick 5: export what you see
Last trick: export. Add a second header action, Export, and give it the Export To interaction, with a default file name and two formats, Excel and CSV. The file has the table's columns, and the rows you checked, or, with nothing checked, every row the filters show. In standard Salesforce, there's no export from a related list or a list view: you'd build a report.
7:21 Put it on the account page
Save the component and activate it. Back on the account page, open Edit Page and drag AX - Dynamic Component right under the header, where it gets the full width. Pick our component, and check Display as Card, so it sits on a white card like the rest of the page. Save.
7:39 Test it
Let's run it, the way Diego would. First, the mistake: he clicks Edit selected with nothing checked. The table tells him to select at least one record. Now for real. Status: New and Working. Priority: High. Two cases left. He clicks the first one, the lounge chairs, and reads it on the right. No new tab. He clears the filters. The hinge kits are holding up the installers, so he sets that case to High, right in the cell, and saves. Three cases need escalating. The lounge chairs are already checked, since he read them. He clicks the lobby sofas and the hinge kits: three checked. Edit selected, he ticks Status, picks Escalated, and saves. The table reloads by itself: three cases at Escalated. He logs his call on the hinge kits case. Then he checks the three escalated cases again and exports them for Nadia, his contact at Lakeshore. And in Salesforce: the three cases are escalated, and the call is on the right case.
8:37 Pro tips
A few pro tips before you go. To filter on the page's record, map $Component RecordId, and trust the page, not the builder's preview. Use Record Picklist Values keeps filters honest: only values that exist, with counts. A row click also checks the row, so clear the selection before an action on everything. Global quick actions need Global, then a dot, in front of their name. And on the standard side: in a mass quick action, change the value yourself, or nothing is saved.
9:09 Recap
So, five tricks on one record page: click to read a case on the side, filters with only real values, edit in place or in bulk, log a call from a row, and export what you see. Each one is a setting or two in the Component Builder. Episode one, Data Table tricks for screen flows, is linked in the description. Three Shorts are coming from this video. Subscribe so you don't miss them. Thanks for watching, and see you in the next one!