0:00 Welcome
Welcome to a new Avonni video tutorial! If you build Lightning pages in App Builder, this one is for you. We'll follow the quickstart guide from our documentation and put a first Avonni component on an account page, step by step. And along the way, you'll learn how these components work, why you set them up the way you do, and when to pick a Dynamic Component instead. Let's go!
0:23 What we'll build
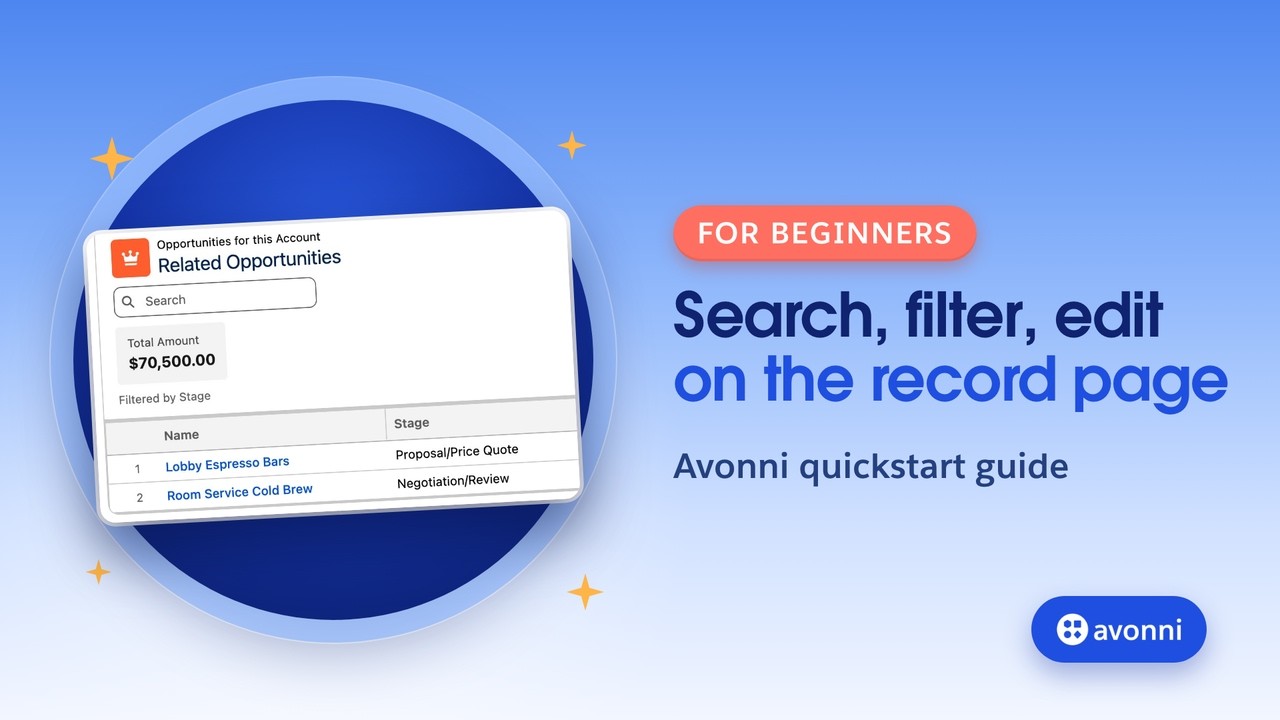
Here's what we'll build. A table of the account's opportunities, right on the account page. Your reps can search it, filter it by stage or owner, and change a stage or a close date without leaving the page. And at the top, the total amount follows every search and every filter.
0:40 Standard or Avonni?
Salesforce already gives you related lists, and the Dynamic Related List lets you choose the fields, the sort order and the filters, right in App Builder. It's a great component. But on the page, the filters are yours, not your users'. To filter, your reps click View All and leave the page for a full list, and to change a stage, they open the record. The Avonni Data Table brings all of that onto the page: a search box, filters your users pick, inline editing, and a total that recalculates as they filter.
1:11 How App Builder components work
Avonni App Builder Components are ready-made components. You drag them onto a Lightning page and you set them up right in App Builder, like a standard component. Search for "AX dash" in the components, and here they are: more than fifteen of them, from a data table to a kanban, a calendar, a map or a timeline. Now, here's the one thing to understand before you start. Salesforce's own components get rich editors in App Builder, with field pickers and filter builders. A component from a package doesn't. App Builder only gives it text boxes, numbers, checkboxes and simple lists. So you set up an Avonni component the way you'd write a query: field API names separated by commas, a filter written like a SOQL WHERE clause, and the current record as a merge field, between double curly braces. It looks technical, but it's three patterns, and you'll use them in every AX component. That's what we'll practice today.
2:08 What you need
Before we start, you need three things. The Avonni Experience Components package, from the AppExchange: it contains the App Builder components. Lightning Web Security turned on in your org, because the package won't install without it. And the Avonni Experiences Admin permission set, plus access to Lightning App Builder, which the permission set doesn't give you on its own.
2:31 Add the component
Open any account, click the gear, and Edit Page. In the components, search for Datatable, and drag the AX Datatable into the Related tab, above Contacts. The panel opens on the right. Two properties are in red: the object and the columns. They're the only required ones. Everything else is optional.
2:52 The data source
First, the Object API Name: Opportunity. That's where the records come from. Next, the Filter: AccountId equals, single quote, double curly braces, Record dot Id, and a closing single quote. On a record page, Record dot Id is replaced by the Id of the account you're looking at. So the same component shows each account its own opportunities. And the single quotes matter: this filter becomes a SOQL WHERE clause, and in SOQL, an Id is text, so it goes between quotes. Forget them, and the table stays empty. Then the columns, as field API names separated by commas: Name, StageName, Amount and CloseDate, in that order. Not the labels, the API names. And as soon as the object and the columns are set, the canvas shows the real opportunities of this account. Last, the Order By: CloseDate DESC, the latest close dates first.
3:49 Search, filter and edit
Now, what your users can do with it. Editable Fields: StageName and CloseDate. Your reps can change those two right in the table, nothing else. Filterable Fields: StageName and OwnerId. Each one becomes a filter button above the table. And check All Columns Searchable, for a search box across every column.
4:10 Header, total and pagination
Here's a property the quickstart doesn't use, and it's my favorite. Metric Aggregation Fields: SUM, open parenthesis, Amount, close parenthesis. The total amount appears in the header, and it recalculates every time your users search or filter. Pagination is already on: set it to ten records per page, so the table stays short on busy accounts. And a header, so your users know what they're looking at. A title, Related Opportunities. A caption, Opportunities for this Account. And an icon: standard, colon, opportunity.
4:47 Save, activate and test
Save the page, and activate it as the org default for desktop. Back on Bayview Hotels, here are its seven opportunities, latest close dates first, and the total of all of them. Let's search for coffee: one deal left, and the total follows. Clear it, and filter by stage: Proposal and Negotiation. Two deals, seventy thousand five hundred dollars. Now, Lobby Espresso Bars moved forward. Click the pencil on its stage, pick Negotiation/Review, and save. It's saved in Salesforce, without leaving the page. And here's the magic of Record dot Id. Open another account, Northline Grocers: same component, its own two opportunities, its own total. You set it up once, it works on every account.
5:34 App Builder or Dynamic Component?
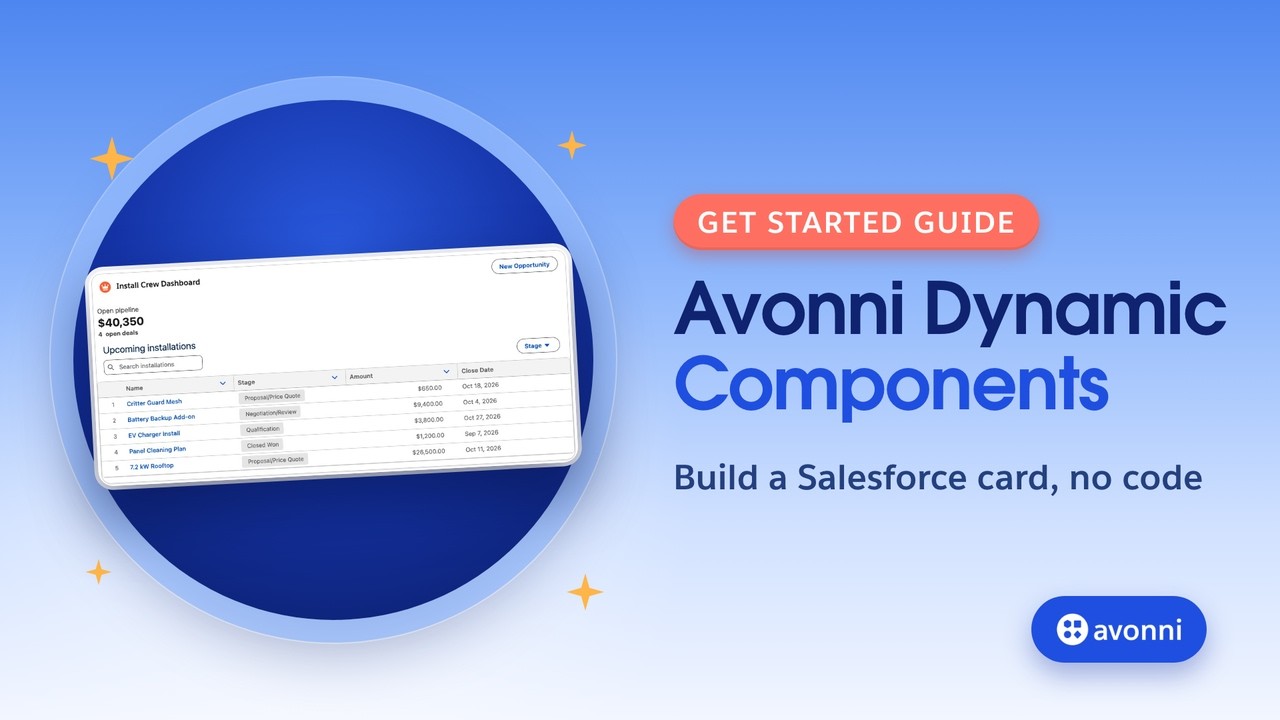
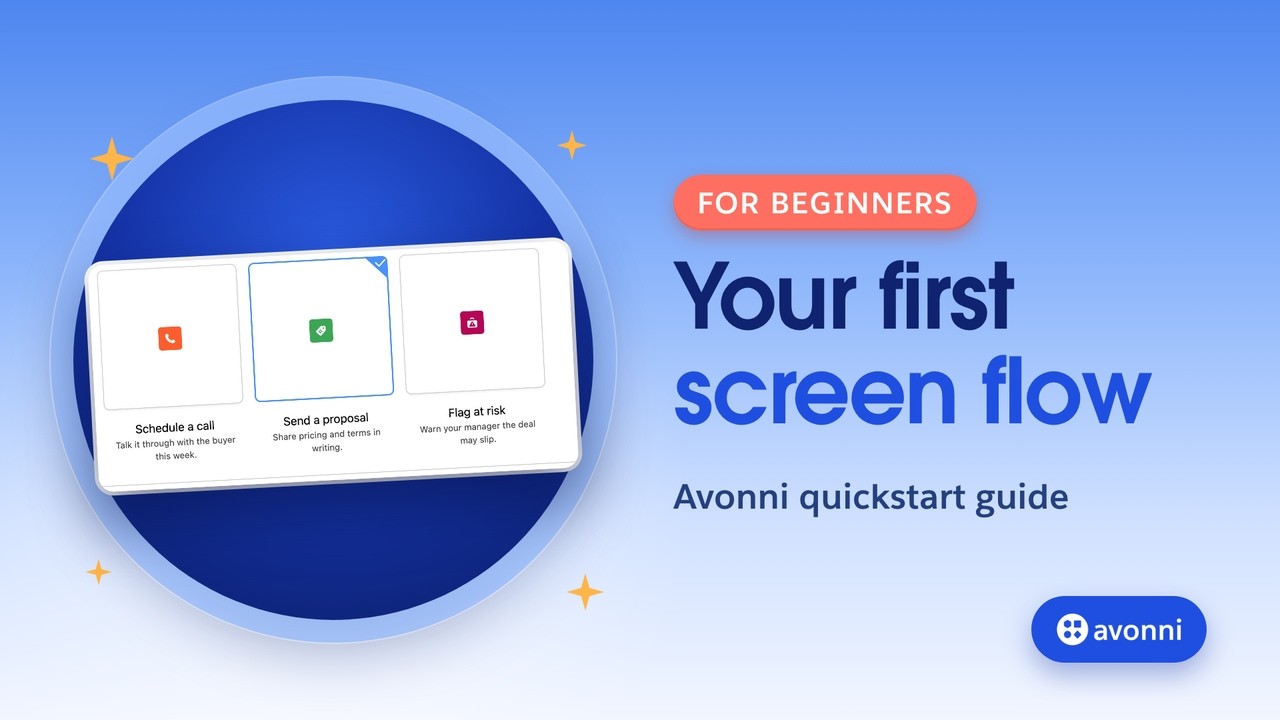
So, when should you use an App Builder component, and when a Dynamic Component? An App Builder component is one ready-made component, set up in the App Builder panel in a few minutes. It's perfect when one table, one kanban or one calendar does the job, with the standard Lightning look. A Dynamic Component is a component you compose yourself, in its own visual editor, the Component Builder. You put several elements together, like a metric, a table and buttons, they react to each other, you add actions and your own styling, from a library of more than seventy-five components. A simple rule: if one component answers the need, stay in App Builder. If you need several pieces that work together, build a Dynamic Component. And you don't have to choose your tool: the AX Dynamic Component, in the same list, puts any Dynamic Component on this page. For a guided process with steps, like an intake form or an approval, that's a screen flow.
6:31 Pro tips and recap
Three pro tips before you go. To find an API name, open the object in Object Manager: the Fields & Relationships tab lists the API name of every field. If your table is empty, check the quotes around Record dot Id, then the spelling of every API name. And the component respects Salesforce security: a user who can't see a field won't see it in the table. Let's recap. The object and the columns are the only required properties. The filter is a SOQL WHERE clause, with Record dot Id between single quotes. Editable, filterable and searchable fields decide what your users can do. And when one component isn't enough, a Dynamic Component takes over, on the same page. The quickstart guide is in the description below. Thanks for watching!