0:00 Welcome
Welcome to a new Avonni video tutorial! This one is for Salesforce developers who write Lightning Web Components. We build a dispatch board that knows the weather: one row of forecasts from a public weather API, one row per technician with their visits for the week, and rules that check every move before it's saved. No Apex. Let's go!
0:21 What we build
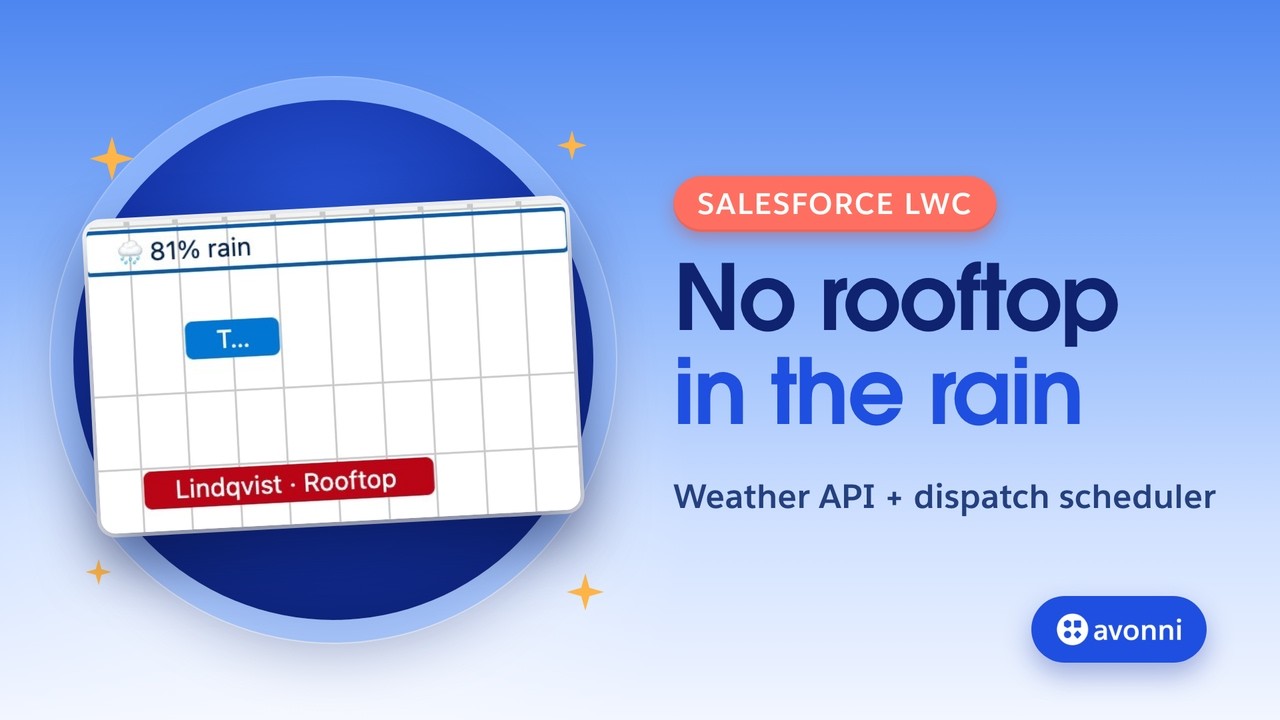
Here's the result. A rooftop job planned on a rainy day shows up in red. Drag a rooftop job onto a rainy day, and the board says no and puts it back. Drag it to a dry morning, and it's saved in Salesforce.
0:35 The need
Meet Jordan, who runs dispatch at a solar installer. You don't install panels on a wet roof. So every Monday, Jordan opens the weather in another tab and moves the rooftop jobs by hand. Sometimes one slips through, and a technician drives an hour for nothing.
0:52 Why code
Could you build this with standard LWC? There's no calendar or scheduler base component. You'd load a third-party calendar library as a static resource and wire it by hand. Field Service and Salesforce Scheduler do dispatch, but they're paid add-ons. With the Avonni Data Driven Scheduler, the timeline, the rows per technician and the drag and drop are built in. We give each block its own color, and the board hands us every move before anything is saved. We also have a no-code version of this board, built as a Dynamic Component. The link is in the description. Here, we need code for two reasons. We mix outside data, the forecast, with Salesforce records in the same view. And we check a move against the other visits before saving it. That's what this LWC does.
1:39 Why not code it yourself
So why not write the scheduler yourself? Or ask an AI to write it? You can, and in the demo it looks the same. But a scheduler is a lot of code: the time grid, drag and drop, resizing, overlapping blocks, time zones, three views, the header, the popovers. An AI can write it fast, and then it's yours. About a thousand lines in your repo that someone has to read, test and fix. Salesforce ships three releases a year, and each one is a chance for something to break. Six months later, nobody remembers how that code works. With Avonni LWC Components, all of that lives in a managed package: one tag in your template. Avonni tests and updates it with every release, and you get the fixes by updating the package, without touching your code. It's styled with SLDS, works with Lightning Web Security, and passed the AppExchange security review. Your repo only holds what's yours: your data and your rules. In this video, that's about two hundred lines. And if you build with AI, it works better this way. The Avonni MCP server gives your assistant the real docs of every component, so it writes your logic on top of one tag instead of a thousand lines from scratch.
2:52 The plan
Five steps. Read the visits without Apex. Get the forecast. Build the view. Add the rules. Put it on a page.
3:01 Before you start
You need four things. The Avonni Components package: it gives your code the avonni tags. VS Code with the Salesforce CLI, connected to your org, because the component lives in your code. Visits as Events, with a Job Type field, so we know which ones are rooftop jobs. And a Trusted URL for the weather API, because Salesforce blocks calls to outside sites by default. We'll add that one together.
3:25 Create the component
In the VS Code terminal, we create the component with the Salesforce CLI: sf template generate lightning component, named weatherDispatch, type LWC, in the lwc folder.
3:38 The template
The template holds one tag: avonni-dd-scheduler. This tag is the whole calendar: the grid, the drag and drop, the header. We don't write any of it. Items and resources come from our JavaScript. That's static mode: we build the data ourselves, so we can mix Salesforce records with anything else. The variant is timeline, with one row per resource. A time span of five days, starting Monday. Working days only, from seven to five. Variant-attributes turns on drag and drop and fits the week to the screen. And onitemedit calls our handler every time a block is moved.
4:16 Read the visits, no Apex
Now the JavaScript. The visits are Salesforce Events, and we read them with the GraphQL wire adapter from lightning/graphql. One query: this week's events that have a job type, with the start, the end, the job type, and the owner's name. The owner is the technician. The wire hands us the data and a refresh function, which we keep for later. We turn each record into a plain visit object. A note if you've tried this before: for years, the UI API didn't support Event and Task, so GraphQL and updateRecord couldn't touch them. Since API version 65, it does. We tested both in this org.
4:55 Get the forecast
The weather comes from Open-Meteo, a public API. No key needed, and free for non-commercial use. In connectedCallback, a plain fetch: the site's coordinates, the maximum chance of rain per day, and the past seven days too, so Monday still has its forecast. We keep one number per day.
5:15 Build the view
Two getters build what the scheduler shows. Resources: the weather row first, then one row per technician. Items: one block per day on the weather row, with an icon and the chance of rain, in the hollow theme. Then one block per visit, on its technician's row. The color is plain JavaScript: red for a rooftop job on a rainy day, otherwise the technician's color. The color on an item wins over the default palette.
5:43 The rules
Here's the heart of it. When a block is moved, itemedit gives us the item and its new start and end. The item's name is the event ID. A move on the weather row is simply put back. Rule one: a rooftop job on a day with fifty percent chance of rain or more. We refuse, with a toast that says why. Rule two: another visit of the same technician at the same time. Everything is already in memory, so the check is instant. To refuse, we show the toast and hand the board a fresh copy of our data. The block jumps back to where it was. Otherwise, updateRecord saves the new start and end on the event, still no Apex. Then we call the GraphQL refresh and confirm with a toast. If the save fails, same thing: the block goes back. The board moves the visit. You decide. And look at what we wrote: the data, the forecast, the rules. Not one line of calendar.
6:39 Metadata and deploy
The metadata file: isExposed set to true, and the App Page target. Then back to the terminal, sf project deploy start. The deploy succeeds.
6:51 Put it on a page
In Salesforce, the Lightning App Builder. A new App Page called Dispatch, one region. We search for Weather Dispatch under Custom and drag it onto the page. Save, and activate it. We add it to the Sales app, so Jordan finds it in the navigation bar.
7:08 The Trusted URL
The visits are there, but the weather row is empty: "Failed to fetch". Salesforce blocks calls from the browser to sites it doesn't trust. In Setup, Trusted URLs, we add a new one: a name, the Open-Meteo address, and the box that matters, connect-src. That's the one that lets our fetch through. Save. Back to the board. The forecast is there, and the rooftop job planned on the rainy day is already red.
7:35 Test it
Time to test. Jordan drags the Ferreira rooftop job onto the rainy day. Refused, and the toast says why. Next, onto a dry day, but on top of another of Priya's visits. Refused again: Priya is already booked. Then a dry, free morning. Saved. We open the event: the start and end have changed in Salesforce. Last one: the red job from the rainy day, moved to a dry day. It takes its technician's color back.
8:05 Dynamic Component or LWC
So which one should you pick? The Dynamic Component builds a scheduler with no code: one query on one object, colors from a field, and a flow you can run after a move. The LWC takes more work, and gives you more: data from anywhere in the same view, colors you calculate, and a yes or no before anything is saved.
8:27 Pro tips
A few tips you can reuse. Let a component carry the UI, and keep your code for your business logic: less to maintain at every release. This rule lives in the browser, so it protects this board, not other ways to edit an event. For a real guarantee, add a validation rule or a record-triggered flow as well. Any fetch from an LWC needs a Trusted URL with connect-src. In static mode, you build items and resources, and you can mix any data you want. To redraw the board, hand it a new array. And Event and Task now work with GraphQL and updateRecord.
9:03 Recap
That's it. One Avonni tag for the calendar, and our own code only for what's ours: Events read with GraphQL, a forecast from a public API, a view built in plain JavaScript, and an itemedit handler that says yes or no before saving. The full code is in the description, along with our Kanban LWC tutorial and the no-code version of this board. See you in the next video!