0:00 Welcome
Welcome to a new Avonni video tutorial! This one is for Salesforce developers who write Lightning Web Components. We build a support case board for the Account page: the account's cases in Kanban columns by status, and you drag a card to change its status. No Apex, and about sixty lines of code. Let's go!
0:20 What we build
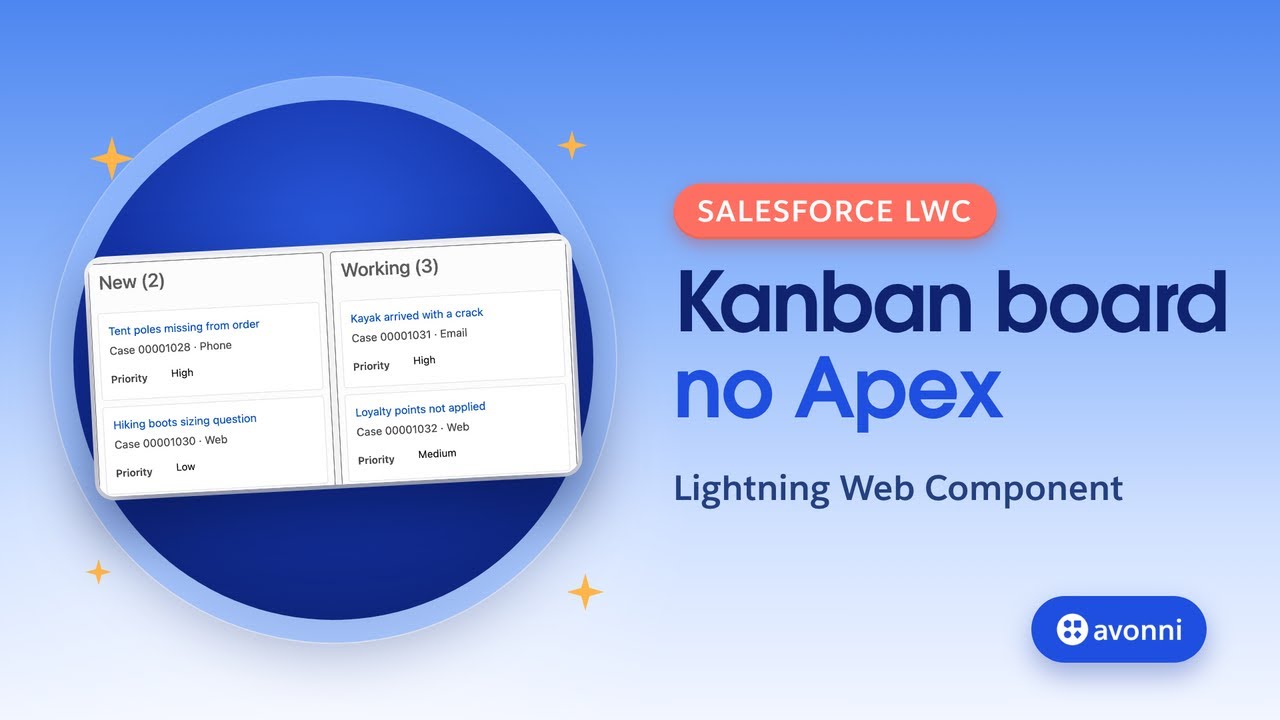
Here's the result. Every case of this account, grouped by status. Drag a case to another column, and its status is saved in Salesforce. The counts update, and a toast confirms
0:31 Why not from scratch
it. Could you build this with standard LWC? Yes, but there's no Kanban base component. You'd read the cases with Apex, or with the getRelatedListRecords wire adapter. You'd read the Status picklist values to build the columns. Then you'd code the drag and drop, the search box and the counts yourself, and keep all of it working release after release. With the Avonni Data Driven Kanban, those are attributes. A query object in JavaScript, no Apex. One attribute that turns the Status picklist into columns. Drag and drop built in, with an event to save the change. And search and counts, switched on.
1:09 Before you start
You need four things. The Avonni LWC Components package, with a license: it gives your code the avonni tags. Without it, the deploy fails with an unknown tag error. A Salesforce DX project open in VS Code, because the component lives in your code. The Salesforce CLI, connected to your org, to create and deploy the component. And an account with a few cases, to see the board fill up. The links are in the description.
1:36 Create the component
In the VS Code terminal, we create the component with the Salesforce CLI: sf template generate lightning component, named caseBoard, type LWC, in the lwc folder. We get the HTML template, the JavaScript, the metadata file, and a Jest test we won't need today.
1:55 The template
The template holds a single tag: avonni-dd-kanban. No import needed, it comes with the package. The header gets a title and an avatar. The query and the mapping come from the JavaScript. Then the key line: group-field-name equals Status. The columns are the values of the Status picklist, in the order you set in Setup. Fields lists what shows under each card. Search-fields adds a search box, show-item-count puts a count on each column, and onitemdrop calls our save handler when a card is dropped.
2:29 The query and the mapping
Now the JavaScript. The record ID comes from the record page, through api recordId. The query is a plain object, and the component runs it for you. The object is Case, the filter keeps this account's cases with the record ID, sorted by priority, up to a hundred. That's what replaces the Apex controller and its test class. The mapping turns each record into a card. Name is the unique key, the record ID. The title is the subject. The description mixes text and fields: the case number and its origin. Each field goes between double curly braces, Record dot the field name. And linkify turns the title into a link to the case. Two small settings to finish. Fields shows the priority on the card, with its label inline. And hideUndefinedGroup hides the column for cases without a status.
3:20 Save on drop
Dropping a card fires itemdrop, and it hands us two things: the record, and the value of the column it landed in. We save it with updateRecord, from the standard UI API. Still no Apex. Then a toast confirms the change. If the save fails, say a validation rule, we show the error in a toast and call refresh on the board, with true to stay on the same page. The card goes back to where the database says it is. That's a habit worth keeping in any drag and drop: the screen never lies about the data.
3:52 The metadata file
Last file, the metadata. isExposed set to true, so the Lightning App Builder lists it. A label, Case Board. The record page target, limited to the Account object, so it only shows up where a record ID makes sense.
4:08 Deploy
Back to the terminal: sf project deploy start, with the caseBoard folder as the source. The deploy succeeds.
4:16 Add it to the Account page
Now in Salesforce. We open an account, then Setup and Edit Page. In the components panel, we search for Case Board: it's under Custom. We drag it onto the page, under the header, and it shows this account's cases right away, because Salesforce passes the record ID. Save. On a page that isn't active yet, Salesforce then asks you to activate it.
4:39 Test it
Time to test. We drag a case from New to Working. The counts update, and the toast confirms it. We reload the page, and the case is still in Working: the status is saved in Salesforce.
4:52 Recap
That's it. One Avonni tag, a query object instead of Apex, a mapping for the cards, and an itemdrop handler to save the change. About sixty lines for a working Kanban on the Account page. The full code is in the description. See you in the next video!