0:00 Welcome
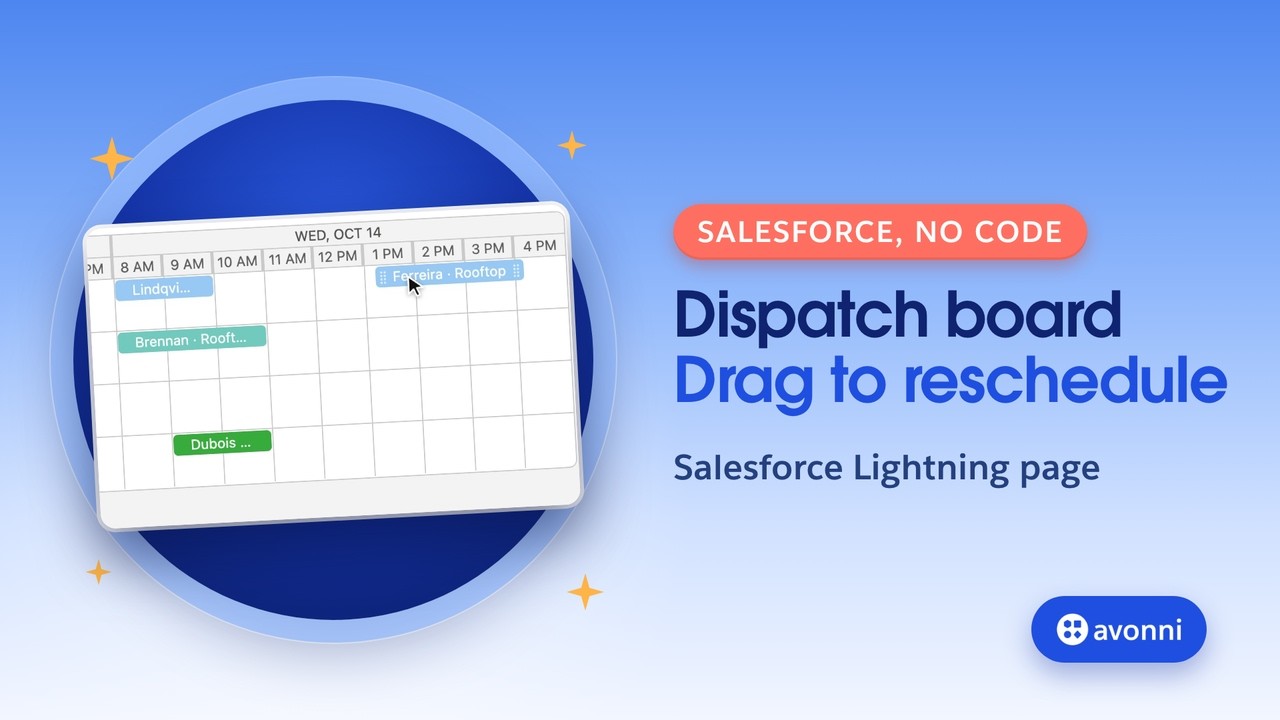
Welcome to a new Avonni video tutorial! This one is for Salesforce admins who plan field work: installs, repairs, site visits. Your team's visits are standard Salesforce events, and you want to see the whole week, one row per technician, and move a visit with your mouse. Today, you'll build that dispatch calendar on a Lightning app page, with no code. Drag a visit to another day, and the event is really updated in Salesforce. Let's go!
0:28 What Salesforce gives you
First, what can you do with standard Salesforce? The calendar is a good start. You can add your colleagues' calendars next to yours, up to fifty calendars, overlaid by color or side by side. And you can drag events to reschedule them, on your own calendar. But it's a personal calendar, in its own tab. Salesforce Help describes a row-per-user view only in Salesforce Classic. For real dispatching, Salesforce has Field Service, with its Dispatcher Console: a Gantt chart, a row per resource, scheduling policies and optimization. And Salesforce Scheduler books appointments with customers. Both are great, and both are products with their own licenses, and a lot more to set up. That's where the Avonni Calendar comes in. It puts a timeline, one row per technician, on any Lightning page. And when you drag a visit, it saves the new time, through an interaction you set yourself. To be clear, this isn't a route optimization engine. For skills, territories and travel time, Field Service does the job very well. Here, you get a real planning board, in one component, with no extra Salesforce license.
1:37 Our example
To learn it, let's take a real use case. SolarOps installs residential solar panels. Jordan Lee runs dispatch. Every Monday morning, he has four technicians and a week of install visits to place. Today, he opens each technician's calendar, one by one, and keeps the rest in a spreadsheet. Here's what we'll build for him: a Dispatch page, with one row per technician, the visits as colored blocks, and one drag to move a visit.
2:05 The plan
Here's the plan. A query, to get the visits. One row per technician. A view that fits a working week. A drag that really saves. Then the page.
2:17 What you need
Before we start, you need five things. The Avonni Experience Components package, which includes Dynamic Components. The Avonni Experiences Admin permission set, to build components. Your technicians, as Salesforce users. Their visits, as standard events. And one field: Technician, a lookup to User, on the event. Here's why. The Assigned To field of an event can point to a user, or to a calendar. To draw one row per technician, with a name and a photo, the Calendar needs a lookup to a single object. So we give the event a Technician field that points to User only. And for our test, a validation rule: crews leave early on Fridays, so no visit can start on a Friday at 3 PM or later.
3:04 The Scheduler
Open the Dynamic Components tab and click New Component. Start from a blank component. On the left, here's the Avonni collection: more than a hundred elements, from data tables to maps and charts. You get them with the Avonni Experience Components package, on AppExchange. The link is in the description. In Data Display, you see a Calendar and a Scheduler. It's the same component, but the Scheduler starts as a timeline, which is exactly what a dispatch board needs. Drag the Scheduler onto the canvas.
3:35 The visits
The data comes from a query. Create a query on Event, and name it Visits. Add one condition: Technician, not equal to an empty value. That keeps personal meetings off the board. Sort by start date. Notice what we don't add: a date filter. The Calendar only reads the days on screen. Move to the next days, and it reads those. So you don't write any date logic.
4:00 One row per technician
Now Data Mappings. The title is the subject of the event. Then the most important one: Resource Name. A resource is a row on the board. Pick Technician. Because Technician is a lookup, a new section opens: Resource. It doesn't read the event, it reads the related user. So for the label, pick the user's full name. And add a user icon for the avatar. From is the start date time, and To is the end date time. Our four technicians are on the board.
4:32 A view that fits the week
A calendar can show every hour of every day. A dispatcher doesn't need that. So let's set limits. The Scheduler already opens on the timeline, so we keep it. Then the time spans. A full week, at this width, makes the blocks too small to read. So add a three-day span, with hours and days in the header, and keep a Week span in the toolbar. Open on three days. Start the week on Monday, and turn on Zoom to Fit, so the board fits the screen with no horizontal scroll. Last, in Available Times, keep Monday to Friday, from 8 AM to 5 PM. No weekends, no nights: just the working week.
5:12 Read a visit without opening it
Pick a palette: each technician gets a color. Then, in Popover Fields, add the location. Hover a visit, and Jordan sees the address, without opening the event. In the header, add the caption Dispatch, and an icon. Now the most important part. Right now, nothing moves: the Calendar only lets you drag a visit when you tell it what to do with it.
5:36 The drag that saves
In the Interactions tab, open Event Drag, and add Update Record(s). This one is made for the drag: it saves the new start and end of the visit you dropped. You don't map any field. The Calendar already knows them from Data Mappings. On success, show a toast: Visit moved. On error, add a Refresh Query. Why? If Salesforce refuses the change, the block stays where you dropped it, and the board lies to you. The Refresh Query reads the visits again, and the block goes back to its real time. You don't need an error toast: the Calendar shows one already.
6:12 Save and activate
Save the component, and name it Dispatch Board. Leave the Target Page Object empty: this board isn't tied to a record, it lives on an app page. Then activate it. A component that isn't active doesn't show up in App Builder.
6:26 The Dispatch page
In Setup, open Lightning App Builder, click New, and choose App Page. Name it Dispatch, and pick a one-region template. Drag AX Dynamic Component onto the page, and pick Dispatch Board. Check Display as Card, for the white background of a Salesforce card. Save, then activate the page, and add it to your app.
6:48 Test it
Let's test it. Here's Jordan's week, one row per technician. Ferreira, Rooftop is on Tuesday at 9, with Diego. The customer asks for Wednesday afternoon. Jordan drags it to Wednesday at 1 PM. Visit moved. Let's open the event: the start and end times have really changed. Now Friday. Jordan moves to the next days, and drags Moreau, Inverter from 9 AM to 3 PM. Salesforce refuses it: crews leave early on Fridays. The Calendar shows an error, and the Refresh Query brings the block back to 9 AM. Nothing was saved. It works!
7:25 Pro tips
Five pro tips. One: the Calendar moves the block, the interaction saves it. Without Event Drag, nothing changes in Salesforce. Two: always add a Refresh Query on error, so the board never shows a change that wasn't saved. Three: Assigned To can point to a user or a calendar, so give your events a lookup to User for the rows. Four: limit the view to working days and hours, and keep a short span, so every visit reads at a glance. And five: available hours follow the time zone of the person looking at the board, so set them for the team that dispatches.
8:02 Recap
To recap. Standard calendars are personal, and Field Service is a bigger product. With the Avonni Calendar, we built a dispatch board in the Component Builder: a query on events, one row per technician, a view that fits the working week, and a drag that really saves. Then we put it on a Lightning app page. Jordan plans his Monday in one screen, instead of four calendars and a spreadsheet. New to Dynamic Components? Watch our Get Started video, the link is in the description. Thanks for watching, and see you in the next Avonni tutorial!