0:00 Welcome
Welcome to this Avonni setup guide! In a few minutes, you'll connect Claude Code to Avonni, so it can build real Avonni components for you. You do it once. Let's go!
0:11 Two pieces
Here's where we're going. We ask Claude Code to list the available Avonni components, and it answers with the real Avonni catalog. It takes two pieces. The Avonni skills teach Claude Code how to build with Avonni: Dynamic Components, Flow Screen Components and LWC Components, plus an architect skill for solutions that span several of them. The Avonni MCP server gives it the live catalog and the documentation of every component, so it looks things up instead of answering from memory.
0:43 Before you start
Before you start, you need four things. An Avonni package in your Salesforce org. Node.js, version 18 or later. The Salesforce CLI, connected to your org with sf org login web. And Claude Code. The first two steps of the setup page cover them, and the link is in the description.
1:06 Open a project folder
First, a project folder. Claude Code works inside a folder on your computer, and saves what it creates there. Any empty folder works. We make one called Avonni AI, on the Desktop, and move into it.
1:21 Install the Avonni skills
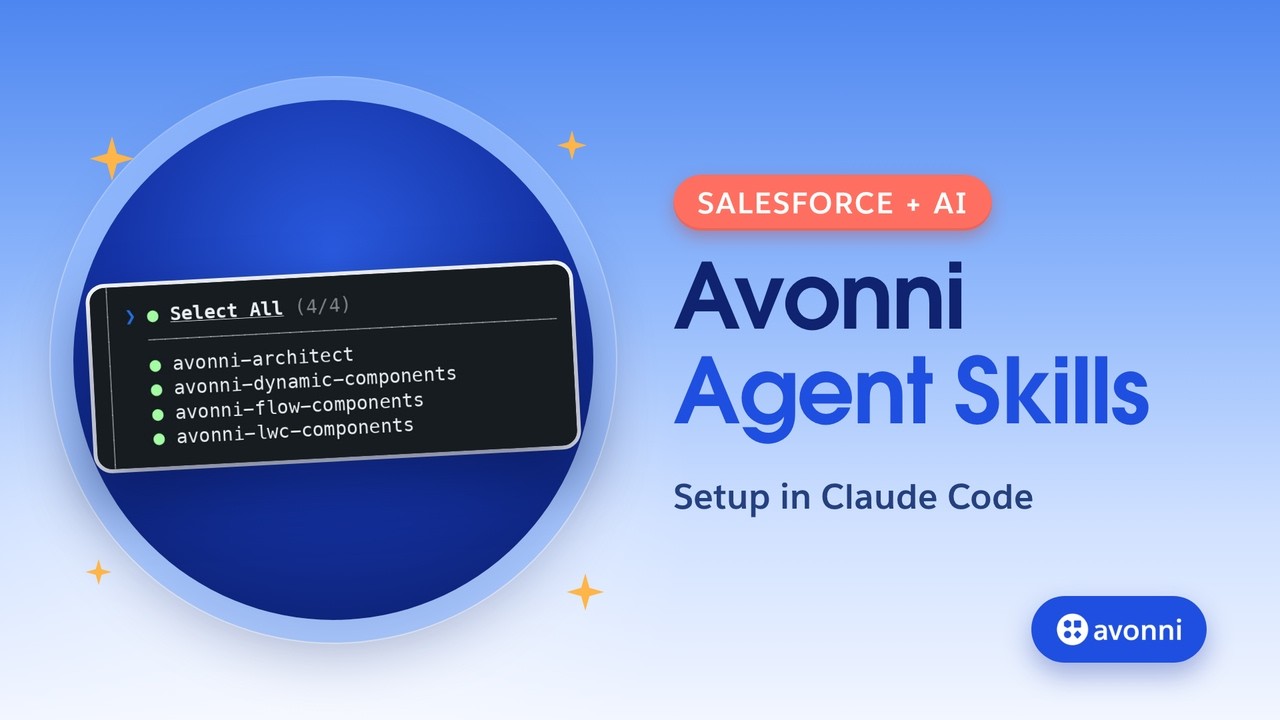
Next, the Avonni skills. One command installs them in this folder: npx skills add avonni slash skills. It finds four Avonni skills. We select them all. Then it asks which assistants to install them for. This is the step not to miss: Claude Code isn't selected by default, so we search for it and select it. Otherwise, the skills land in a folder Claude Code doesn't read. We keep the installation in this project, with the recommended option, and we confirm. The installer then offers an extra skill, find-skills. We don't need it, so we say no. The Avonni skills are now in this folder, ready for Claude Code.
2:05 Connect the Avonni MCP server
Now the Avonni MCP server. Avonni hosts it: nothing to install, nothing to run. You just point Claude Code at it, with this command: claude mcp add, transport http, avonni, and the server address. Claude Code confirms it added the Avonni server, for this project folder. So always start Claude Code from this folder.
2:30 Test it
Time to test. We start Claude Code in the folder. The first time, it asks if you trust this folder: yes. We ask: List the available Avonni components. Claude Code calls the Avonni server, and the real catalog comes back: here, the Dynamic Components, and it offers the Flow Screen, Experience and LWC lists too. If Claude Code asks for permission to use the server, allow it. To check the connection at any time, type slash mcp: the Avonni server shows up, connected, with its tools.
3:09 Your first build
Now a first real build. We paste an example prompt from the setup page: a screen flow where the user picks an appointment date on an Avonni Date Picker, then confirms on a summary screen. Claude Code loads the Avonni Flow Components skill and calls the Avonni server. Before building anything, it shows a plan, two screens, and asks for your OK. We say: build it as described. It writes the flow file with the skill's own scripts, validates it, and explains what's left before you deploy. Nothing is deployed automatically: you review the files and deploy with your usual process.
3:49 If something doesn't work
Three things fix almost everything. If it answers from memory, and never looks anything up, type slash mcp: if Avonni isn't connected, run the claude mcp add command again, from your project folder. If the skills aren't there, check that you installed them inside your project folder, and that you start Claude Code from that folder. And if it builds but nothing saves, Node or the Salesforce CLI is missing, or the CLI isn't logged in: run sf org login web again.
4:21 Other assistants
Using another assistant? The same skills and the same Avonni server work everywhere: the Claude desktop app, Cursor, VS Code, Copilot, Agentforce Vibes and Gemini CLI. The setup page has a tab for each one.
4:37 Recap
That's it. A project folder, the Avonni skills, the Avonni MCP server, a test, and a first build. Next, learn each component in its own tutorial, starting with the Data Table. See you in the next video!