Login Start free
Start free
Avonni Components Package
85+ components across 4 packages. 10 free production licenses to start.
Avonni Components passed Salesforce's security review and is listed on the AppExchange
Install in ProductionInstall in a SandboxInstall Avonni on your org
Pick a package and install it straight into production or a sandbox. 10 free licenses to start.
Packages are independent — install one now, add the others anytime
Avonni Experience Components
Best for admins building apps and portals, no code
Drag and drop components into Experience Builder. For customer portals, partner sites and community hubs.
Avonni Flow Screen Components
Best for richer screen flows in minutes
Drag and drop components straight into Flow Builder. Works in every screen flow, on desktop and mobile.
Avonni LWC Components
NEW
Best for dev teams coding with AI tools
Import the library into your own Lightning Web Components. Works anywhere LWC runs.
All packages are security reviewed.
Start free
Avonni Components package
85+ components across 4 packages. 10 free production licenses to start.
Avonni Components passed Salesforce's security review and is on the AppExchange
Install in ProductionInstall in a SandboxStart free
Avonni Experience Components
Build powerful, fully customizable Lightning pages and Experience Sites

App Builder Components
Dynamic Components
Experience Sites Components

Passed the Security review
Avonni Flow Screen Components
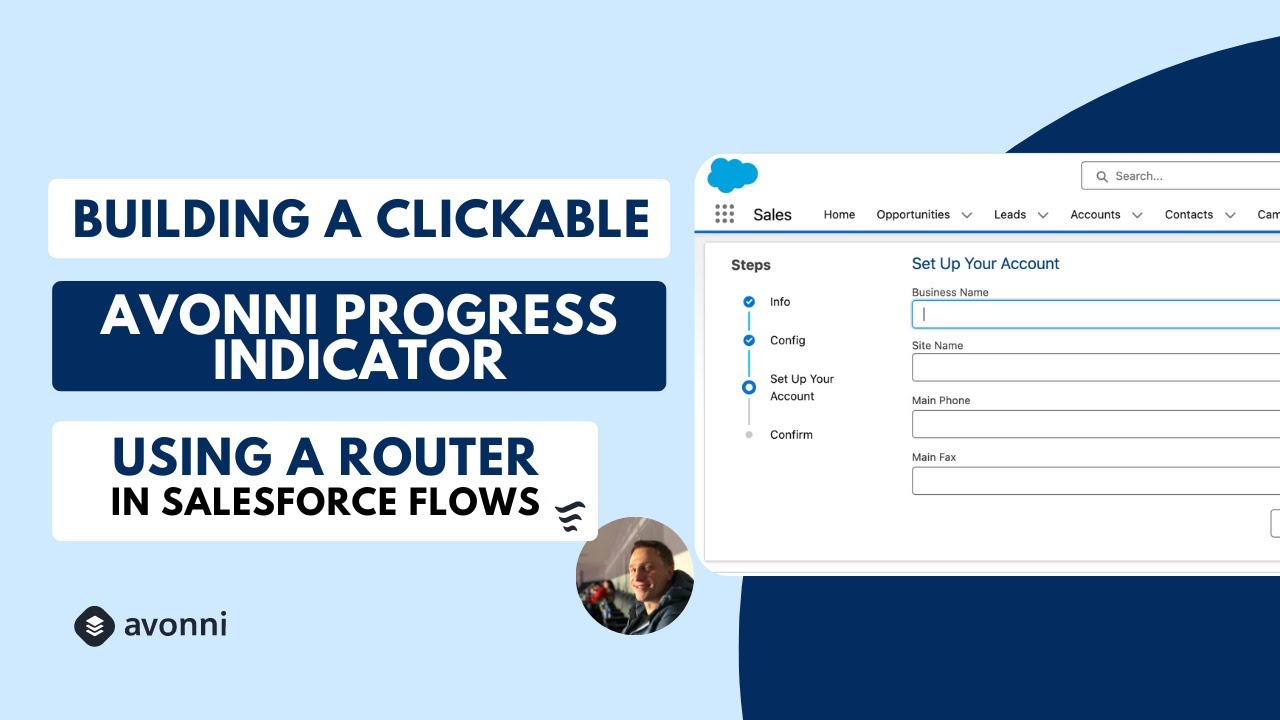
Create multi-step wizards and guided processes with Screen Flow components
Components for Flows
No-code customization
Passed the Security review
Install the Avonni Flow Screen Components on your Salesforce org
Thank you! Your submission has been received!
Oops! Something went wrong while submitting the form.
🔒 Salesforce-certified ISV partner