0:00 Introduction
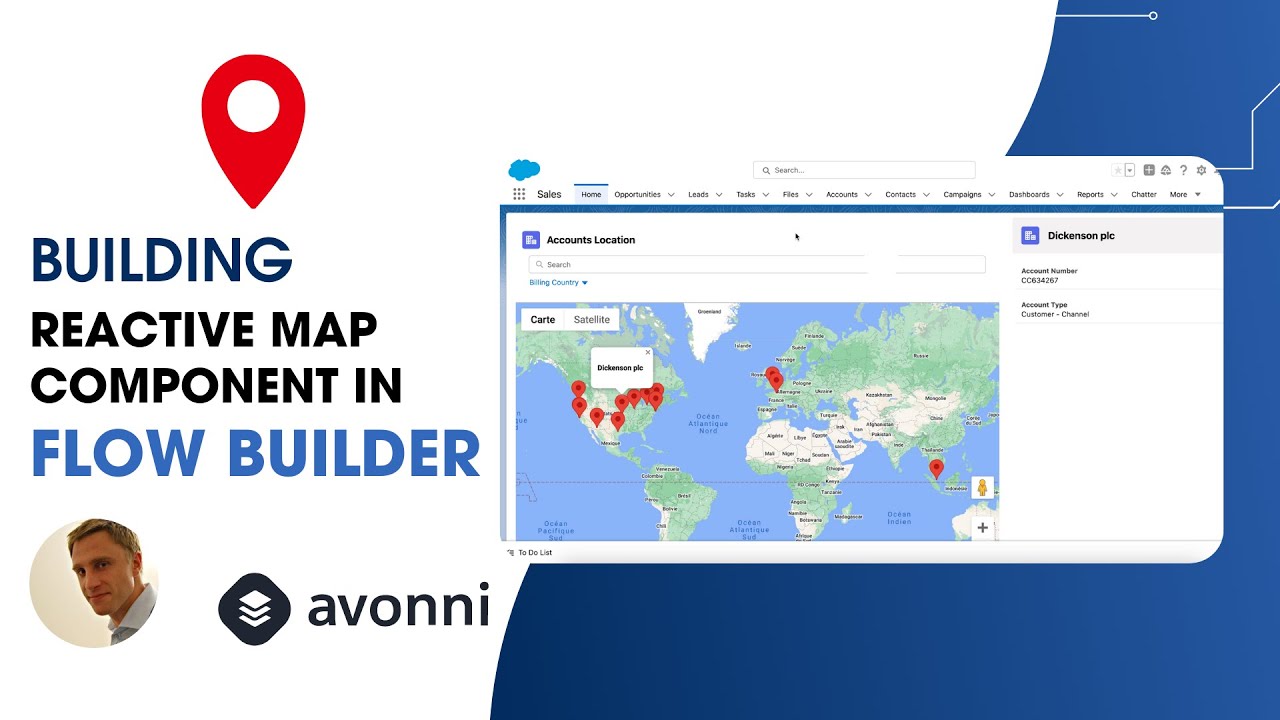
Hello everyone, and welcome to this new Avonni Components tutorial. Today we will explore the Avonni Map and the Open Flow Panel interaction. We will learn how to make an interactive map to manage your sales accounts: see where your accounts are, view important details, and work with them directly inside the map, all in one place. And that's really the power of the Avonni Components package. First, make sure to install the Avonni Components package into your Salesforce. It's really your toolbox with ready UI building blocks you can use inside Salesforce to create the custom solution you want with no code. So you can find the Avonni Components package right from the AppExchange, just by typing Avonni. Feel free to install from there. It's free to use on a sandbox, no time limitation. All right, let's dive in now and build this account management screen flow from scratch. Let me show you what we are going to create now. Okay, let
1:02 What we will build
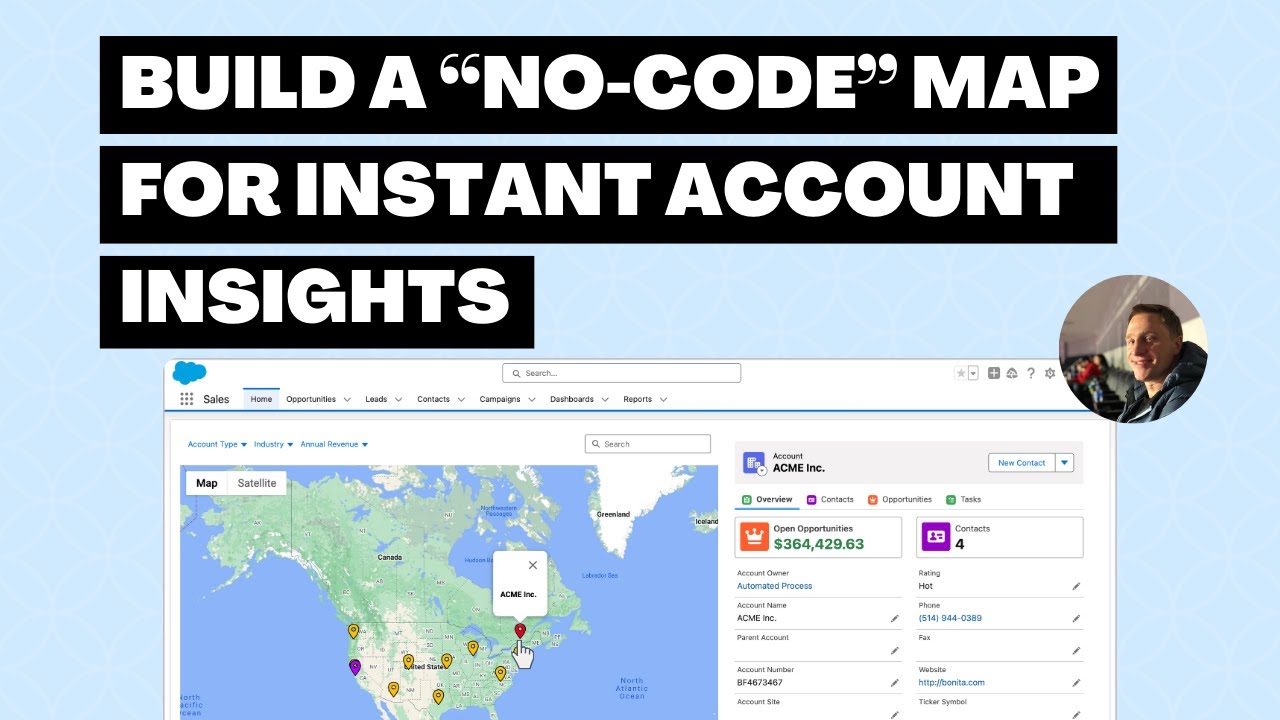
me show you the output of what we are going to build in this video using the Avonni app. It's the account management screen flow. So basically, when you click on the map, you will see two things happen. Let's click on an icon, and from there you will see a panel opening inside the Map component that displays related information regarding the account I'm clicking. I clicked, and it's really opening another screen flow. So if I'm changing to another account on the map, it will automatically display the related information without navigating away. And that's really great for the user experience, because you have all the information at a glance. You can see an overview of the account, you can see related contacts, related opportunities as well. You can even update the stage of an opportunity, and you can see tasks as well, if there is any task for that specific account. So everything in one screen flow, using the Avonni Map, using the Open Flow Panel interaction to display information coming from another flow based on the record I'm selecting on the map. So now let's build that from scratch using screen flows. Okay, let's
2:10 Avonni Map Configuration
create our screen flow from scratch. Next, select Screen Flow. So here I want to display the map, so all I need to do is select the screen element, and from there, typing a label. I don't want to have the Header and Footer at the top, just to make sure it feels really custom, like a custom Lightning web component. And now I need to drag the Avonni Map. So you're dragging the Avonni Map. Let's enter an API name, account map. Then open the Component Builder to get access to all the settings of the Map component, and from there you can really configure the Map component. So the first thing I'd like to configure: I'd like to use Google Maps. I will use multiple markers, because I'd like to display multiple markers on the map coming from the Account object. List views: I don't want to display a list view on the map, so I will check hidden. And now I need to connect my Salesforce data with the component, and for that I will do a query on the Account object. Perfect. I don't need to filter any information from there, because I really want to display all the information coming from the Account object. And then let's define the mapping. So I need to really map the fields from my Salesforce object to the attributes of the Map component. What I would do here first: for the type of marker, I want to customize my map marker. So here on type
3:45 Map Marker customization
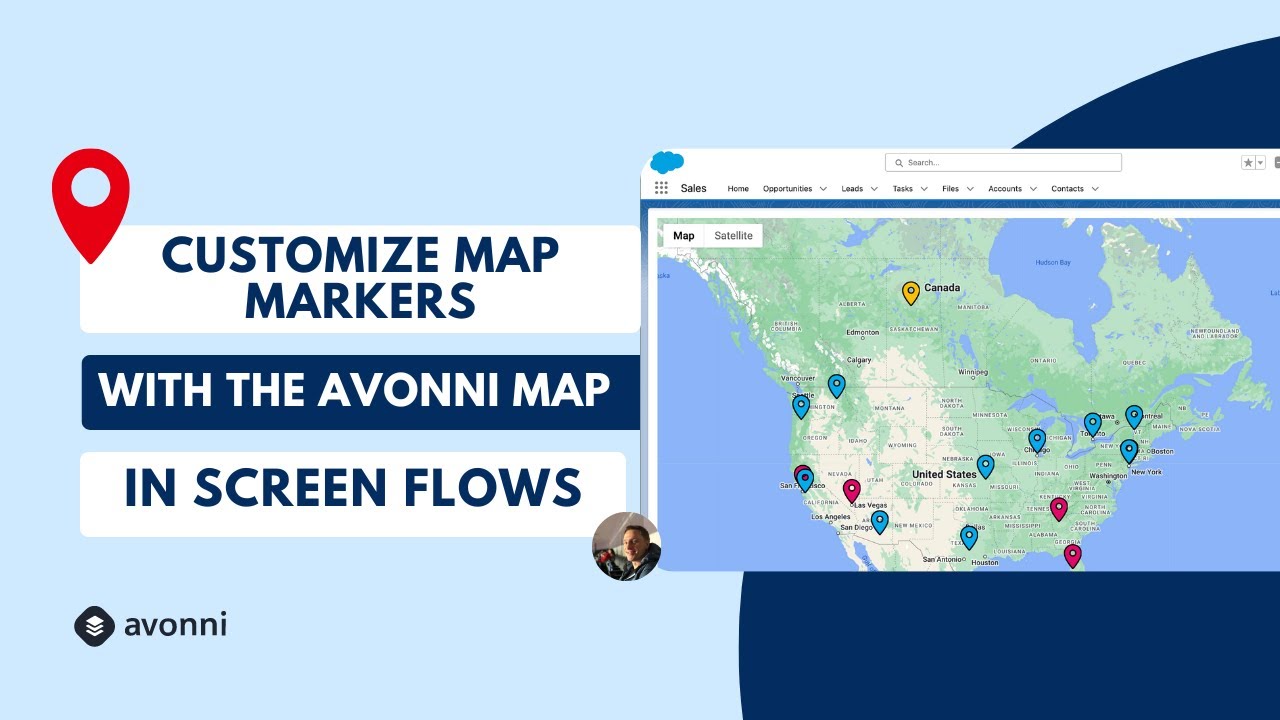
you have default, circle, rectangle, polygon, pin. I will use the pin one, and then I can fine tune the pin. So that's really the look and feel of the marker. And for that, let's say for the fill color, I'm able to select a fill color and attribute a global fill color with a fill opacity, which will be something like this. But that's not exactly what I want. I want my fill color to be dynamic based on a formula value. So for that, what I did, I already created a formula text field, mapped, and the name of the field would be Marker Field Color. That's the field I created. Let me show you the field in detail, the formula field detail. Okay, from the object, now I am on the Object Manager regarding the account. This is the Marker Field Color. It's a formula text type field. Let me show you the formula syntax. It's very straightforward, very easy. It's really an IF formula. So what I'm doing, it's really: if the picklist value of the Industry field is equal to Agriculture, that's the color code. If the picklist value of Industry is Banking, that's the color code. Otherwise, the default for any other values would be this one. So it's really easy to replicate this formula and fine tune the formula based on your needs, because from there you will be able to assign this formula to the fill color marker, to customize the fill color on the map. So let's get back on the map. Again, now you can see different colors based on the industry type. Then I would just adjust the scale of the pin, 125, so it will be slightly bigger on the map. For the location field, I don't have to do anything. It's already mapped automatically based on the account fields information. That's it, that's how I configure the map. You only need to configure that regarding the look and feel of the marker and displaying marker information on the map. Now let me show you the other flow I'd like to open inside the map when a marker is selected. Okay,
5:57 Second flow configuration to display account insights
perfect. I already created another flow, and this flow, the one you're seeing on that screen, that's the flow that will open on the map when users are clicking on the map marker. So I already created this flow using a bunch of Avonni components, like the Header, the tabs right there, and then for each tab I added other components, like the Metric, the Record Detail. The same for the contacts: I just added the Data Table. And the same for opportunities, using a Kanban. And for the tasks, it's using the Timeline. So now, if we explore in detail the flow itself, that's the flow. What I did first, it's really important to do that as well, I created a text variable, recordId, text, available for input. That's the variable I will use to store the current record ID, and I will use this variable name on my Open Flow interaction to make sure the interaction is displaying the correct account information based on the map marker selected. And then in the screen element, I just placed all the Avonni components I need to display related information. For example, for the Record Detail, what I did, I just dragged the Avonni Record Detail component, and from the Component Builder I selected the object name, Account. And for the record ID, it's really important to do that for every other Avonni component in this flow, to map that to the current recordId variable, so the information on the Record Detail component will be based on the current record ID coming from the map marker. That's exactly the same for the Data Table displaying a list of contacts. So what I did on the Data Table, I just queried the Contact object with a filter where account ID is equal to the current recordId text variable I created. So that's for the other flow I'd like to open. Now, how can I display this
7:57 Open Flow Planel configuration
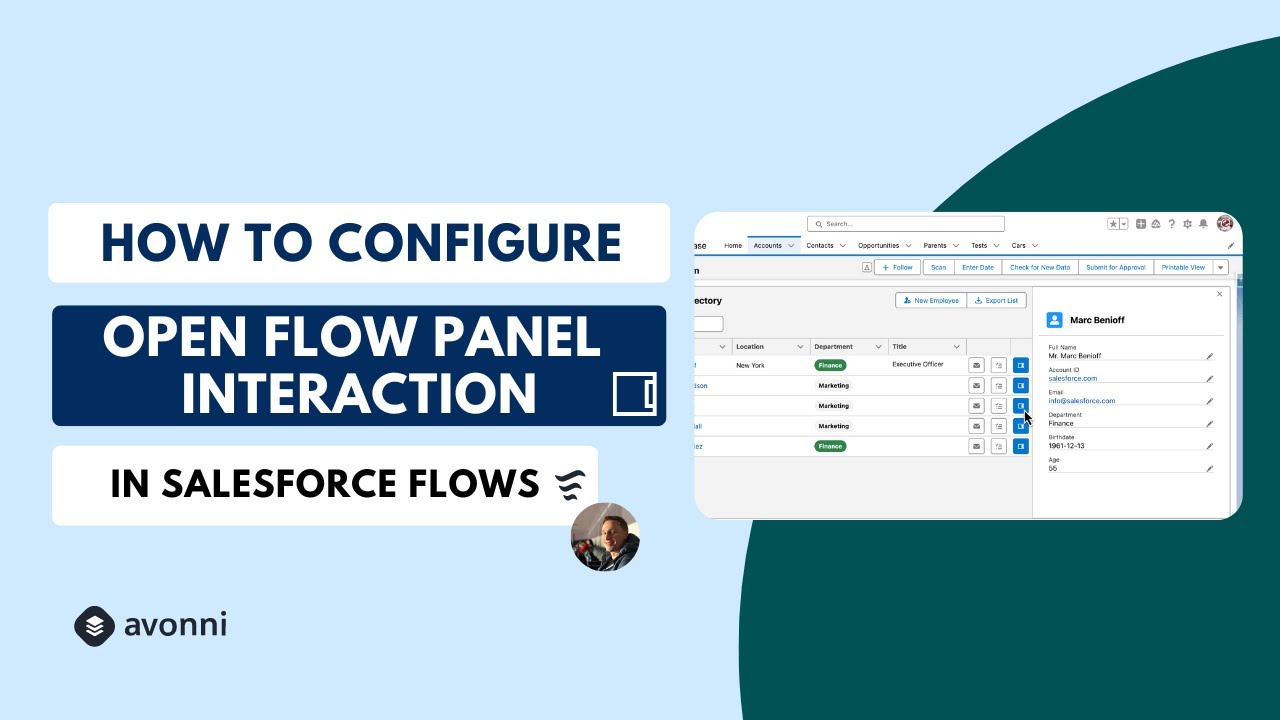
flow in the map? Let's get back to the Map component again. Okay, from the Map component, we just finished configuring this map. If you'd like, you can maybe also adjust and fine-tune the style. So for example, let's say size, just adjust the height in the style, just to make sure everything will look correct on the screen. Then if we go back to the properties: what we want to do, when users are clicking on an account on the map, we want to open the other flow I just showed you as a panel. So for that, you need to create an interaction on marker select. So you click on marker select, and the type of interaction will be Open Flow Panel. And then you're selecting the flow you'd like to open. For my case, it's demo map detail video. Okay, here, it's really important, we need to pass the input variable of the selected record ID on the marker. Add item, name, that would be recordId. The name should exactly match the name you provided right there on the other flow, the one you'd like to open in the Open Flow Panel. Make sure to copy paste the API name and use the exact same name right there. Then, for the value of the input variable, you need to select account ID. That's really the value you need to pass to the other flow. Type, it's text. You don't need to check allow multiple values, that's not a collection. Close. And then, if you want to customize the Header by displaying the account name on the Header, you can. You can set the position of the panel, left or right. If you want to Outer this, if you want to hide the close icon, if you want to set the size of the panel. So let's say for me, extra large. And then you just need to click Save, and you're done. Okay, let's save the
10:07 Test & Final Output
flow. Let's do a test. Okay, that's our test. Let's check if everything is working as expected. So let's select an account. Yes, that's fine. It's opening the other screen flow using the Open Flow Panel. I can see related contacts, opportunities, and tasks as well coming from this information. So that's really what I'd like to show you today. Regarding this example, we just built in a few minutes an account management component featuring the Avonni Map and the Open Flow Panel interaction. You can see within the same screen how users don't have to navigate away to see related information. They are still staying on the map and displaying related information on the panel. So if you have any questions, feel free to ask your question in the comment section below. Thank you so much. Have a nice day.